
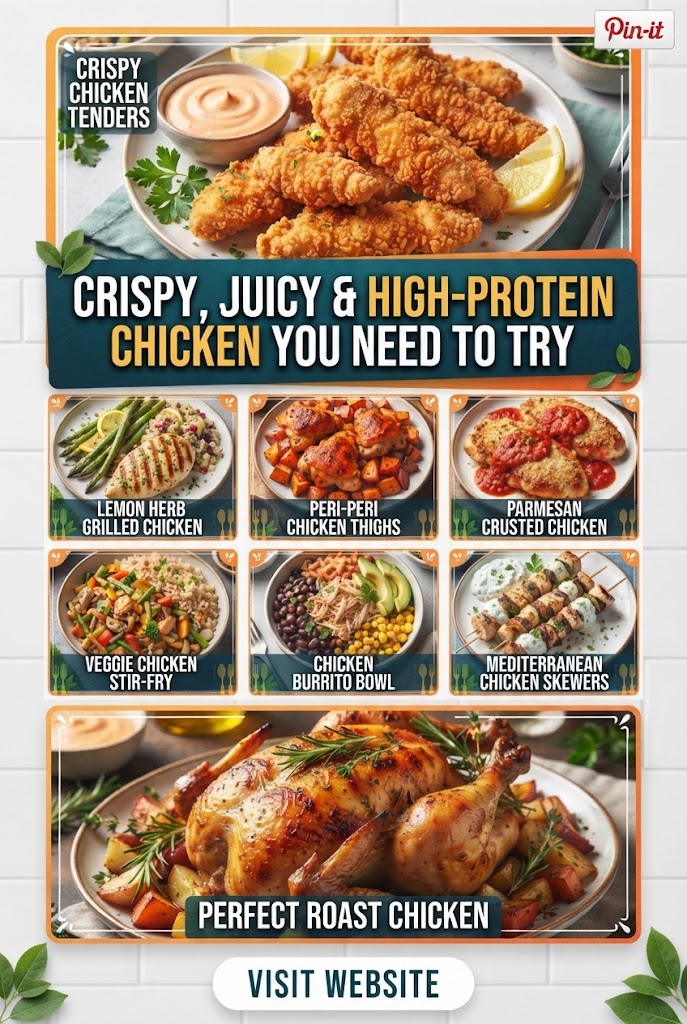
Crispy, Juicy & High-Protein Chicken You Need to Try
If you are looking for a chicken recipe that is crispy on the outside, juicy on the inside, packed with protein, and full of flavor, this is one you need to try. It combines tender chicken with a flavorful marinade and a crispy coating to create a meal that feels indulgent while still fitting into a high-protein lifestyle.
The best part is that you do not need complicated ingredients or professional cooking skills. With a few simple pantry staples, you can make delicious crispy chicken at home that is far more satisfying than plain grilled chicken.
This recipe is especially useful for anyone who wants to eat more protein without getting bored with the same chicken breast every day. The combination of spices, yogurt, garlic, and crispy coating keeps every bite flavorful and juicy.
Whether you are preparing a quick family dinner, meal-prepping for the week, or simply craving crispy chicken, this recipe is worth adding to your regular rotation.
Why You Will Love This Crispy Chicken
There are plenty of chicken recipes available, but this one has a few qualities that make it stand out.
1. It is high in protein
Chicken breast is naturally rich in lean protein. Protein is important for maintaining muscle, supporting recovery, and keeping you feeling full after meals.
A serving of this recipe can provide a substantial amount of protein, depending on the size of the chicken pieces and the exact ingredients you use.
2. It is crispy and satisfying
One of the biggest problems with healthy chicken recipes is that they can sometimes feel dry or boring. This recipe solves that problem with a flavorful coating that develops a delicious crispy exterior.
3. The chicken stays juicy
The yogurt-based marinade helps add flavor while keeping the chicken tender. Proper cooking is also important: chicken should be cooked through without being left in the pan or oven much longer than necessary.
4. It is easy to customize
You can make this chicken spicy, mild, smoky, garlicky, or extra crunchy simply by changing the seasoning.
5. It works for meal prep
Cook a batch at the beginning of the week and use it in wraps, salads, rice bowls, sandwiches, or high-protein lunch boxes.
Ingredients You Need
The following ingredients make approximately 4 servings.
For the Chicken
- 700 g boneless, skinless chicken breast
- ½ cup plain Greek yogurt or thick plain yogurt
- 1 tablespoon lemon juice
- 1 tablespoon olive oil
- 1 teaspoon garlic paste or 3 minced garlic cloves
- 1 teaspoon paprika
- 1 teaspoon chili powder
- 1 teaspoon ground cumin
- ½ teaspoon black pepper
- 1 teaspoon salt
- ½ teaspoon dried oregano
- ½ teaspoon onion powder
- ¼ teaspoon cayenne pepper, optional
For the Crispy Coating
- 1 cup panko breadcrumbs
- ¼ cup all-purpose flour
- 1 teaspoon paprika
- ½ teaspoon garlic powder
- ½ teaspoon black pepper
- ½ teaspoon salt
- ½ teaspoon chili powder
- 1 tablespoon grated Parmesan cheese, optional
For Cooking
- 1–2 tablespoons olive oil or cooking spray
The amount of oil can be adjusted depending on your cooking method. For an oven or air fryer, you generally need much less oil than you would for traditional deep frying.
How to Choose the Right Chicken
For this recipe, boneless, skinless chicken breast is an excellent choice because it is naturally high in protein and relatively low in fat.
However, chicken thighs can also be used if you prefer darker meat. Thighs contain more fat than breast meat, but they are naturally juicy and flavorful.
If using large chicken breasts, slice them horizontally into thinner pieces or cut them into strips. This helps them cook more evenly and makes it easier to create a crispy coating without overcooking the center.
The most important thing is to keep the chicken pieces relatively similar in size. If one piece is very thick while another is very thin, they will not finish cooking at the same time.
Step 1: Prepare the Chicken
Start by trimming any excess fat from the chicken breasts.
Pat the chicken dry with paper towels. Removing excess moisture helps the marinade and coating adhere better.
If the chicken breasts are very thick, place them on a cutting board and carefully slice them horizontally into thinner pieces.
You can also cut the chicken into strips or bite-sized pieces.
For a restaurant-style crispy chicken texture, chicken strips are particularly good because they have plenty of surface area for the crunchy coating.
Step 2: Make the Marinade
In a large bowl, combine:
- Greek yogurt
- Lemon juice
- Olive oil
- Garlic
- Paprika
- Chili powder
- Cumin
- Black pepper
- Salt
- Oregano
- Onion powder
- Cayenne pepper, if using
Mix everything until you have a smooth, flavorful marinade.
Add the chicken and coat every piece thoroughly.
The yogurt should cover the chicken completely.
Cover the bowl and place it in the refrigerator.
For the best flavor, marinate the chicken for at least 30 minutes.
If you have more time, you can marinate it for several hours.
The marinade gives the chicken more flavor and helps create a tender texture.
Step 3: Prepare the Crispy Coating
While the chicken is marinating, prepare your coating.
Add the panko breadcrumbs, flour, paprika, garlic powder, black pepper, salt, chili powder, and Parmesan, if using, to a shallow bowl.
Mix well.
Panko breadcrumbs are particularly useful because their larger flakes can create a crispier texture than regular fine breadcrumbs.
If you cannot find panko, regular breadcrumbs can still work.
For an even crunchier coating, you can lightly crush some of the panko pieces between your fingers while leaving others larger.
This creates a more interesting texture.
Step 4: Coat the Chicken
Remove one piece of chicken from the marinade.
Allow excess marinade to drip off, but do not wipe it completely clean.
Place the chicken into the breadcrumb mixture.
Press the coating gently onto the chicken with your fingers.
Make sure all sides are covered.
Repeat with the remaining chicken pieces.
Place the coated chicken on a clean plate or wire rack.
For an extra-crispy crust, allow the coated chicken to rest for approximately 5–10 minutes before cooking. This gives the coating a chance to adhere to the chicken.
Step 5: Choose Your Cooking Method
There are several ways to cook this chicken.
You can use an oven, air fryer, or skillet.
Each method produces slightly different results.
Air Fryer Method
The air fryer is one of the easiest methods if you want crispy chicken with relatively little oil.
Preheat the air fryer to approximately 200°C / 400°F.
Lightly spray the basket with cooking spray or brush it with a small amount of oil.
Arrange the chicken pieces in a single layer.
Do not overcrowd the basket.
Cook for approximately 10–16 minutes, depending on the thickness of the chicken.
Turn the chicken halfway through cooking.
For the best results, lightly spray the top of the chicken with cooking spray before cooking.
The exact cooking time will vary, so check the thickest piece for doneness.
Chicken should reach a safe internal temperature of 74°C / 165°F.
Once cooked, remove the chicken from the air fryer and allow it to rest for a few minutes before serving.
Oven Method
If you do not have an air fryer, the oven works very well.
Preheat the oven to 220°C / 425°F.
Place a wire rack over a baking sheet.
Arrange the coated chicken pieces on the rack in a single layer.
Lightly spray or brush them with oil.
The rack allows hot air to circulate around the chicken, helping the coating become crisp on the bottom as well as the top.
Bake for approximately 18–25 minutes, depending on the thickness of the chicken pieces.
Turn the chicken halfway through if necessary.
Again, use an instant-read thermometer to confirm that the thickest portion reaches 74°C / 165°F.
Allow the chicken to rest for a few minutes before serving.
Skillet Method
For a more traditional crispy chicken experience, you can cook the chicken in a skillet.
Heat a large skillet over medium to medium-high heat.
Add enough oil to lightly coat the bottom of the pan.
Once the oil is hot, carefully place the chicken into the skillet.
Do not overcrowd the pan.
Cook the chicken for approximately 4–6 minutes per side, depending on thickness.
The coating should become golden brown and crispy.
If the chicken is browning too quickly while the center is still raw, r